Securely Exposing Docker Services With Mutual TLS and Caddy

Securely expose self hosted services to the internet without authentication and without a VPN by setting up Caddy and mutual TLS.
Why mTLS?
Unlike traditional TLS where only servers are authenticated, mutual TLS (mTLS) enforces a two-way handshake. Clients present certificates signed by trusted authorities, ensuring both parties are who they say they are. This provides enhanced security by eliminating impersonation attacks and aligns perfectly with zero-trust models. Using mTLS means we can expose our services to the entirety of the internet but only our devices (phones, laptops, desktops) can connect and they can do so from anywhere in the world without the hassle of toggling a VPN on or off, without having to constantly reauthenticate, and without having to depend on a third party service that could introduce an additional point of failure.
Set Up
This guide assumes you already have a domain pointing to your home network, Caddy installed, Caddy port forwarded to by your router, a service defined in caddy, and openssl installed on the machine.
e.g.
service.example.com {
    reverse_proxy helloworld:80
}
Generate Certificates
Create a certificate authority (CA) that will issue valid certificates for our devices.
openssl genpkey -algorithm RSA -out ca-key.pem
openssl req -new -x509 -days 3650 -key ca-key.pem -out ca-cert.pem
Now we have a CA private key (ca-key.pem) and a self-signed CA certificate (ca-cert.pem) that will be valid for ten years.
Next, we will generate a client key and a certificate signing request (CSR).
openssl genpkey -algorithm RSA -out client-key.pem
openssl req -new -days 3650 -key client-key.pem -out client-csr.pem
This will generate a client private key (client-key.pem) and a client CSR (client-csr.pem). When creating the CSR, provide the requested information, such as Common Name (CN), Organization (O), etc.
Next, we will use our CA to sign the CSR.
openssl x509 -days 3650 -req -in client-csr.pem -CA ca-cert.pem -CAkey ca-key.pem -out client-cert.pem -CAcreateserial
This command will sign the client CSR with our CA certificate and create a client certificate (client-cert.pem).
To use the client certificate and key in a PKCS#12 format (P12), you can export them using the following command:
openssl pkcs12 -export -in client-cert.pem -inkey client-key.pem -out client.p12
You will be prompted to set a password for the P12 file. This password will be required when importing the P12 into client applications.
Now you have a CA certificate (ca-cert.pem), a client certificate (client-cert.pem), and a client private key (client-key.pem) ready for use with mutual TLS. The client certificate and key are also bundled in a PKCS#12 file (client.p12) for convenience. Securely send the client.p12 to your devices and import it using the password set before.
Remember to securely store and manage these certificates and keys, especially the CA key, as it is critical for issuing and verifying certificates in your mutual TLS setup.
Config Changes
Add the following struct to the top of your Caddyfile rewriting /data/mtls/ca-cert.pem to point to the location that Caddy can read your ca-cert.pem.
(mtls) {
  tls {
    client_auth {
      mode require_and_verify
      trusted_ca_cert_file /data/mtls/ca-cert.pem
    }
  }
For each service that will be exposed to the internet, add import mtls as the first line. Then, Caddy will challenge clients before forwarding any data to/from the downstream service.
e.g.
service.example.com {
    import mtls
    reverse_proxy helloworld:80
}
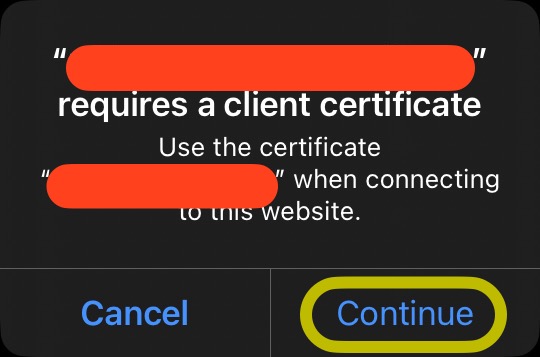
Now, connecting to your service on iOS will show the following prompt for devices with your certificate installed and an SSL error for all other devices.